
The last 4 months have been spent job designing (4 Revisions), constructing molds and fabricating ROTAX’s water-cooled, turbo-charged 915 iS’ 3-Part Cooling System for our LongEZ. Incorporating the NACA belly mounted air intake for oil cooling and adding Armpit Diffusers for the Radiator and Intercooler The Blue Ductwork, depicted below, is designed to provide adequate cooling. Flight testing will, hopefully, confirm the numbers.

Blue Underwing Ducts composed of a Diffuser, Radiator (Intercooler) and Nozzle
SolidWorks CAD Files were fed into a numerically controlled router. The resulting foam cores were sanded level and covered with three (3) BID Fiber-cloth layers. The cured molds were leveled with BONDO and sanded with 100, 120, 400, 800, 1200 and 1500 Grit Sandpaper. Then 5 coats of mold release wax were applied and buffed. Orange Masking Tape was, then, applied around edges of mold, to protect the edges of the mold from the following PVA Release Film and Gelcoat.


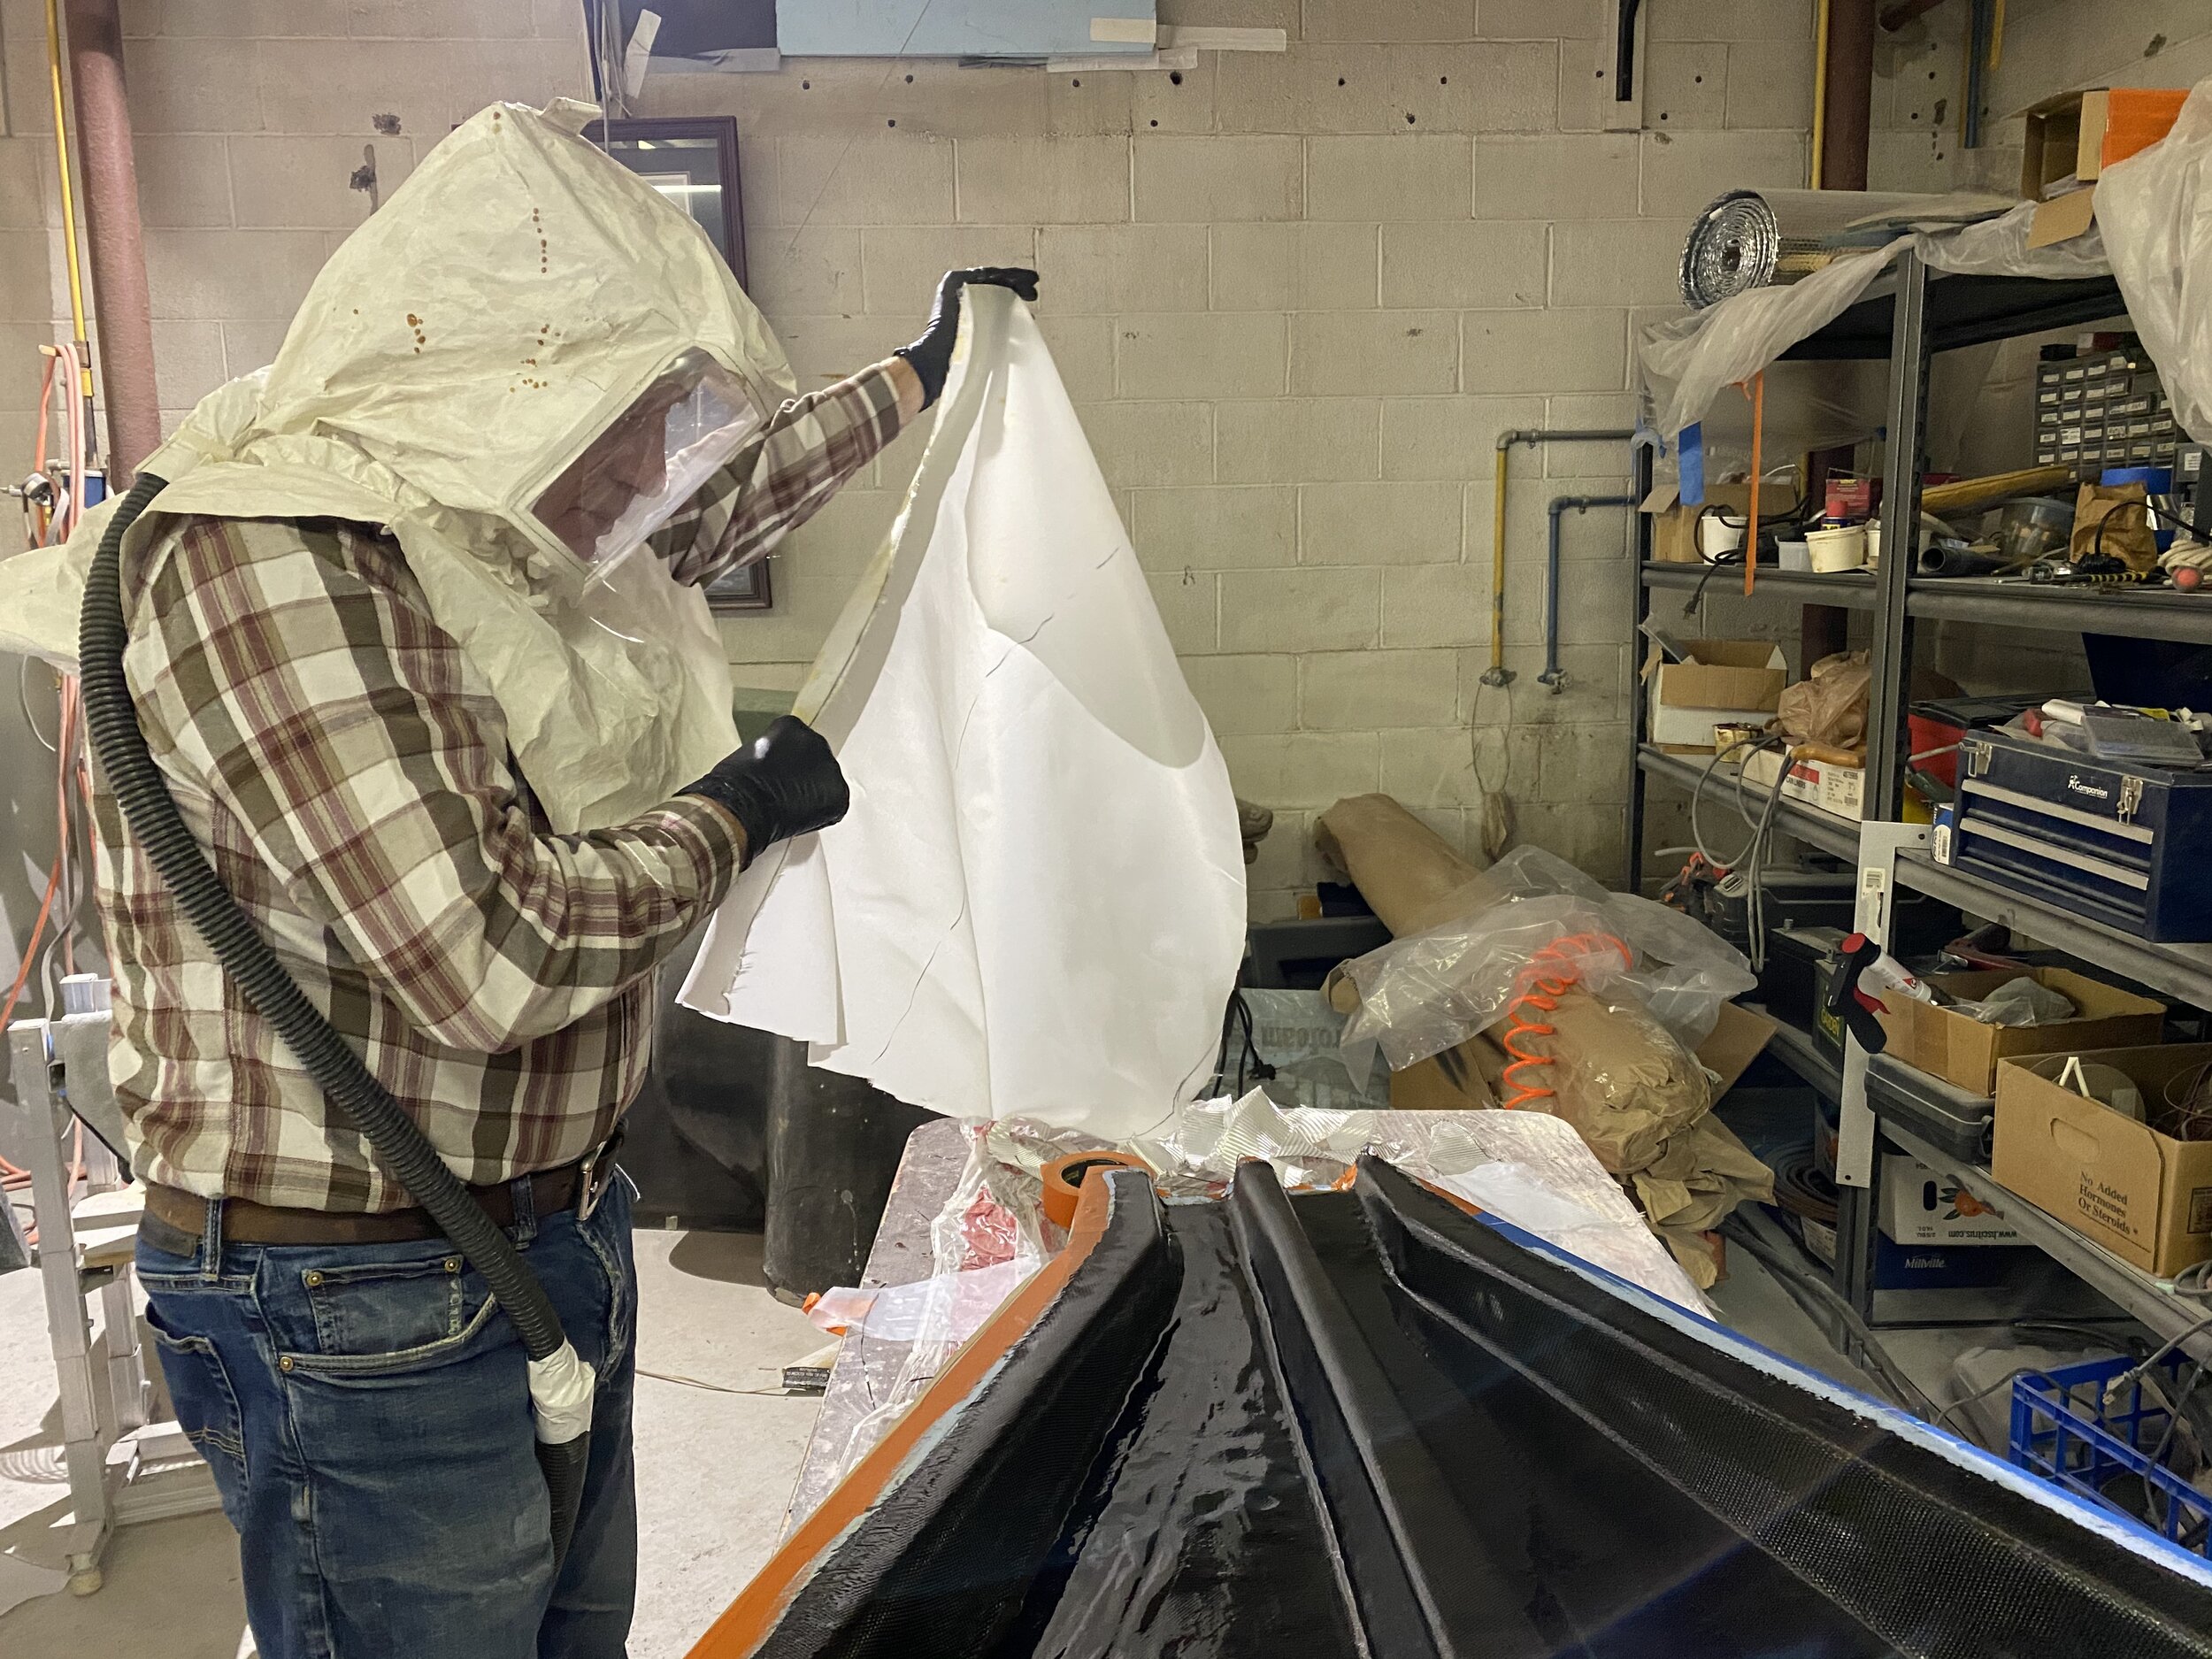
Two sprayed coats of PVA Release Film were applied and allowed to cure - followed by two coats of brushed on Blue Tinted, GEL Coat.

Ryan brushing on second Blue Tinted GEL Coat.
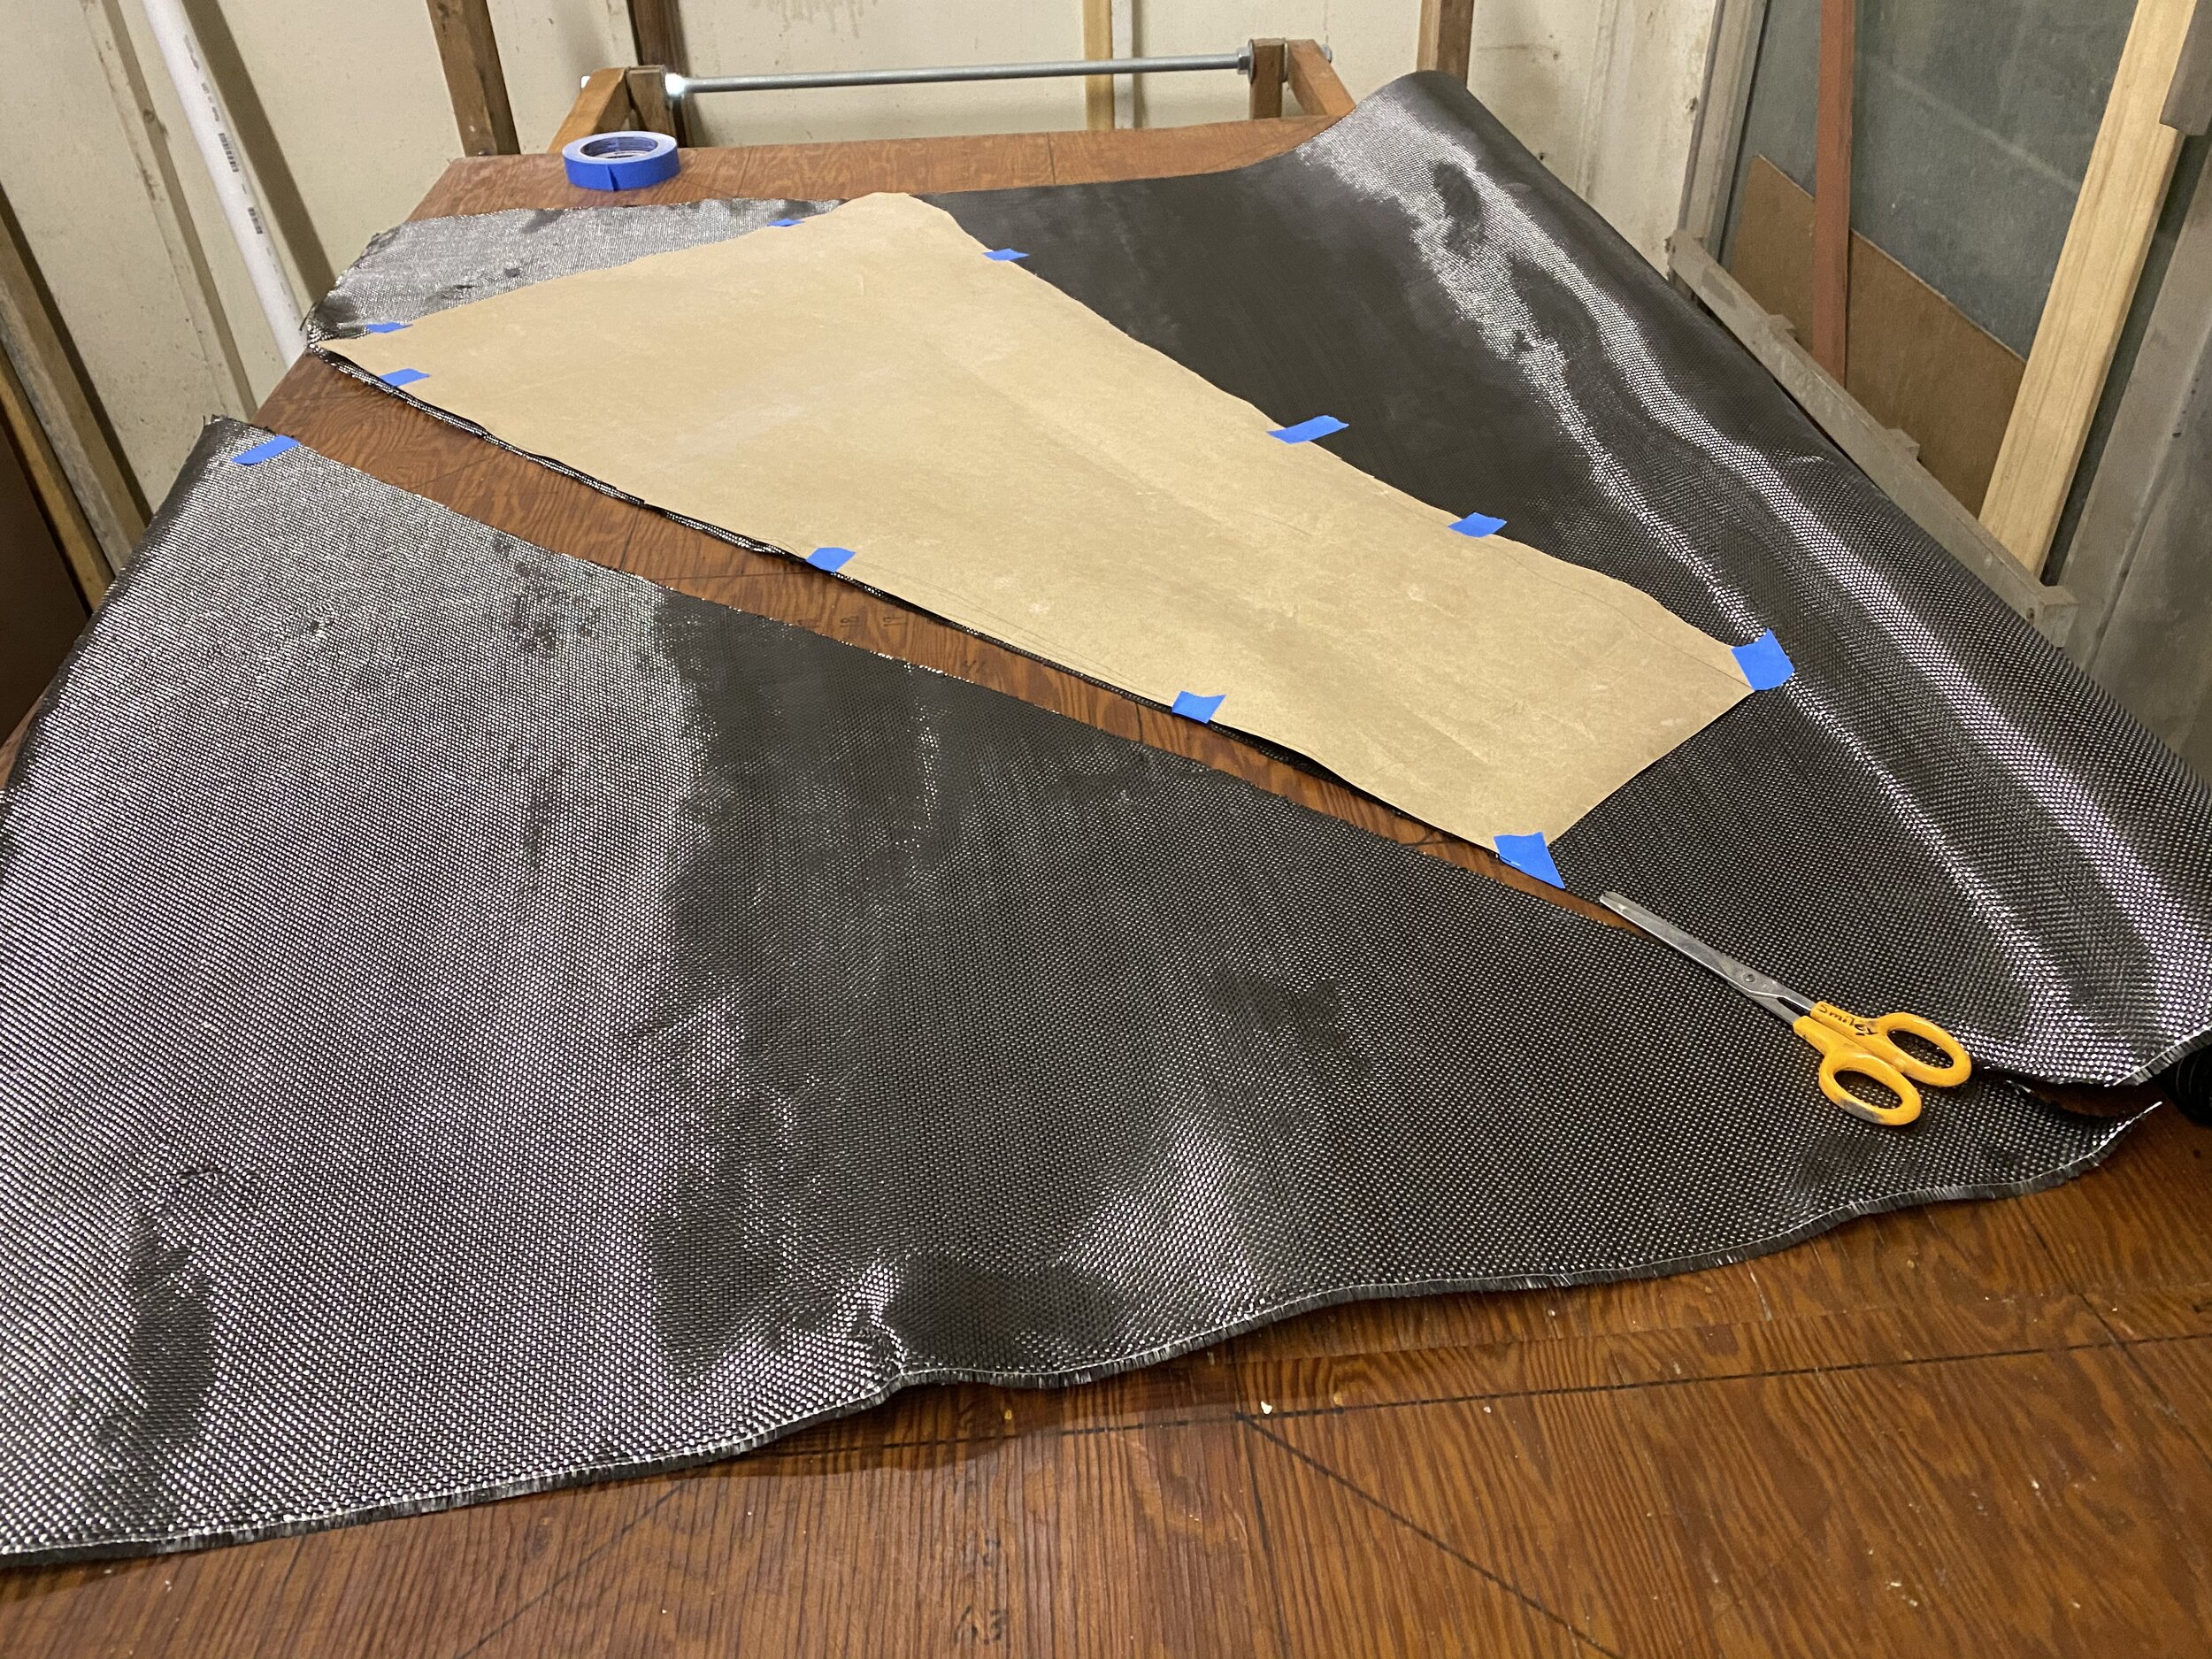
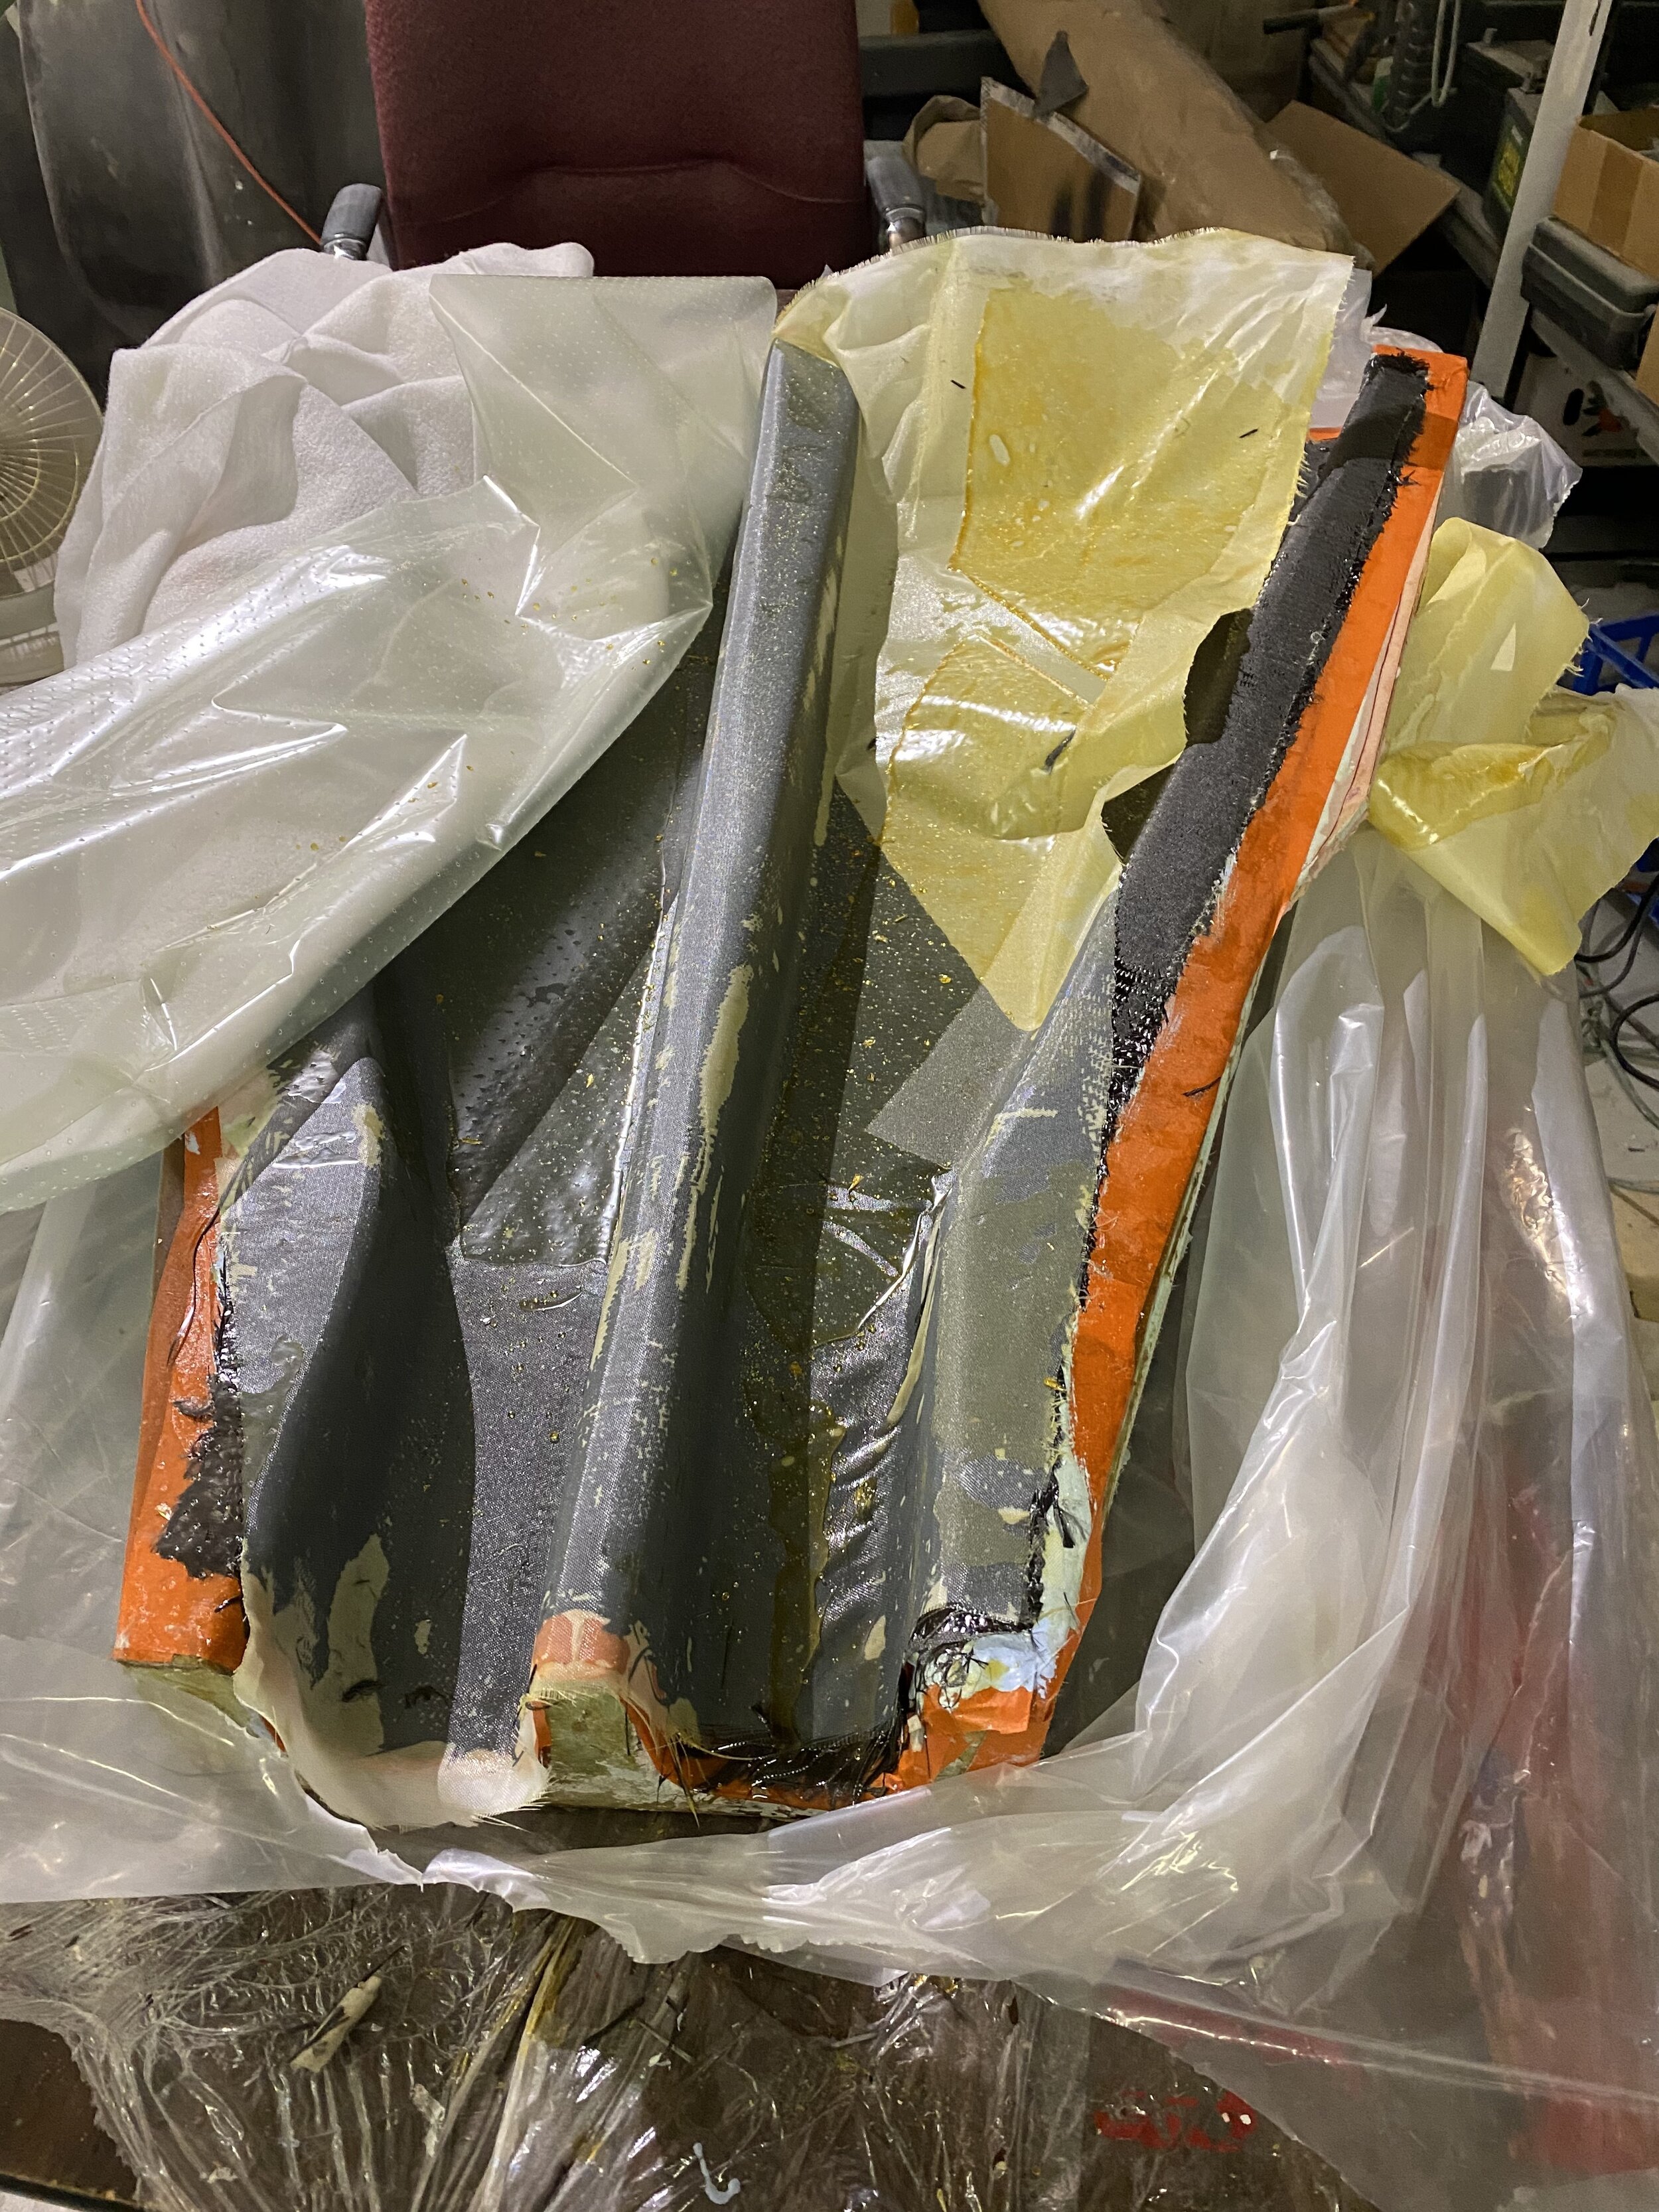
Following Gel Coat cure to a tacky state, three (3) layers of Carbon Cloth were laid down with epoxy, followed by Peel Ply, a layer of Absorbent Fabric, a Perforated Film Layer ……………
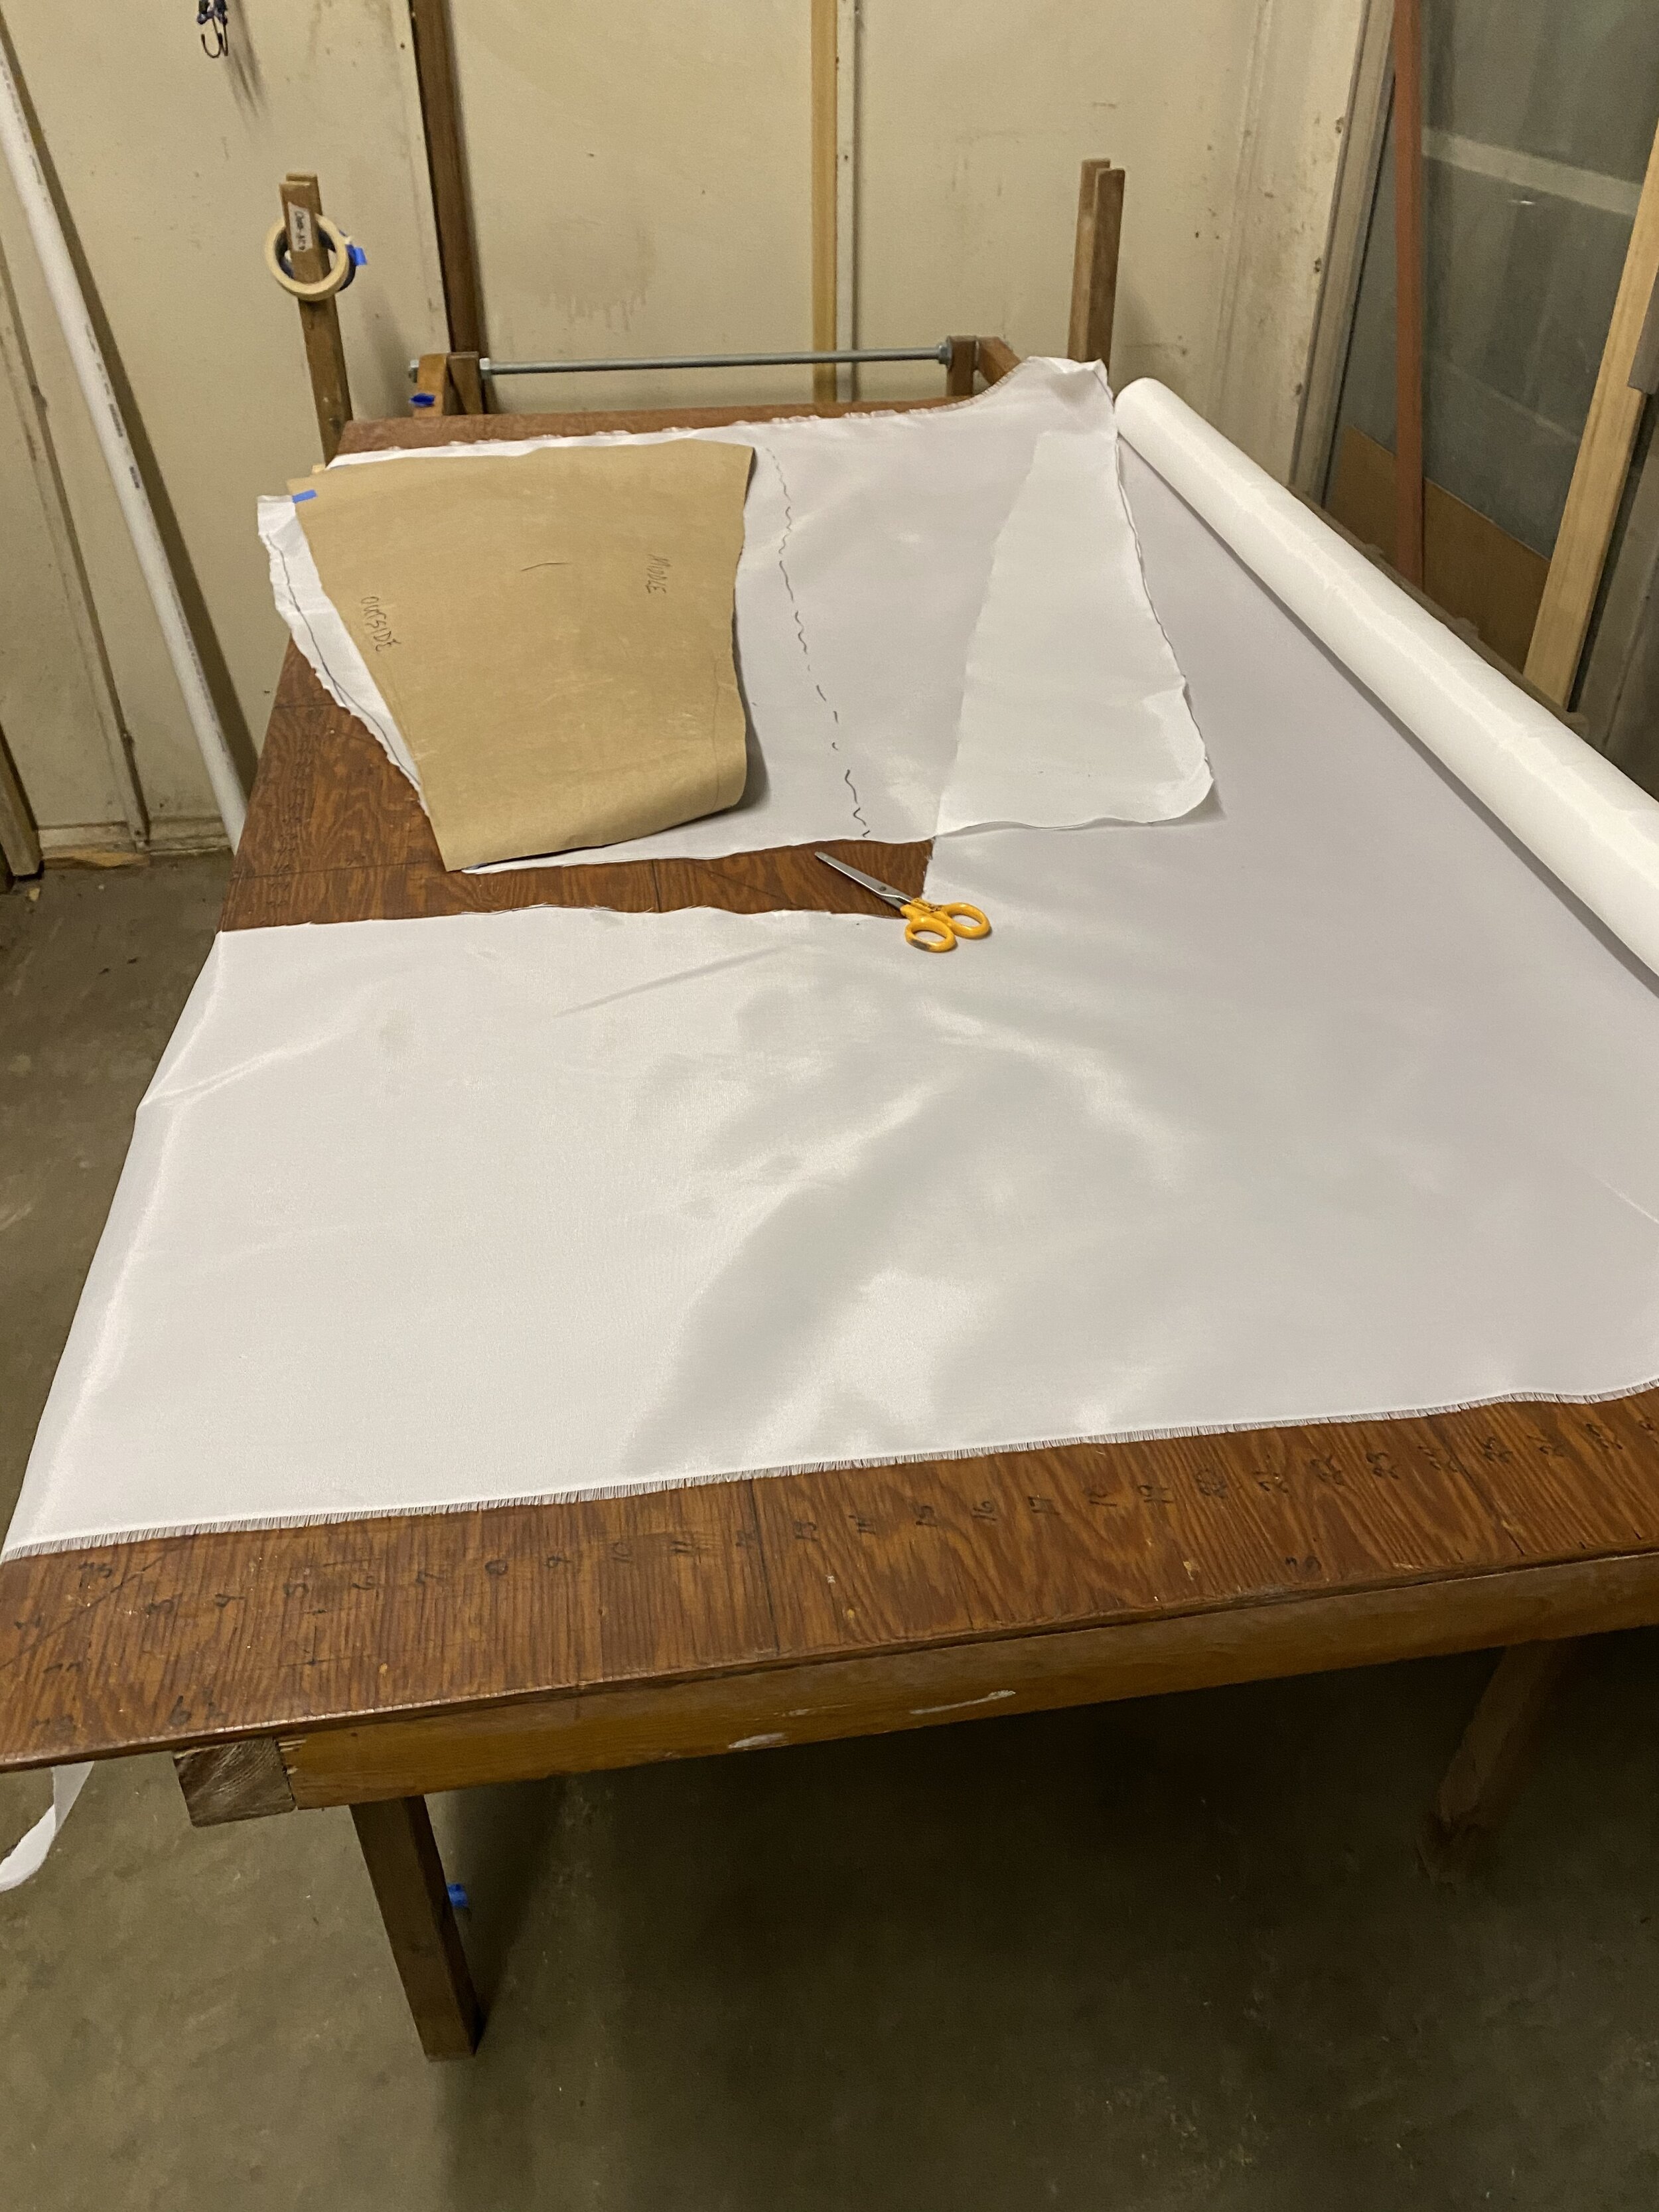

……………………. and Vacuum Bagged for curing.

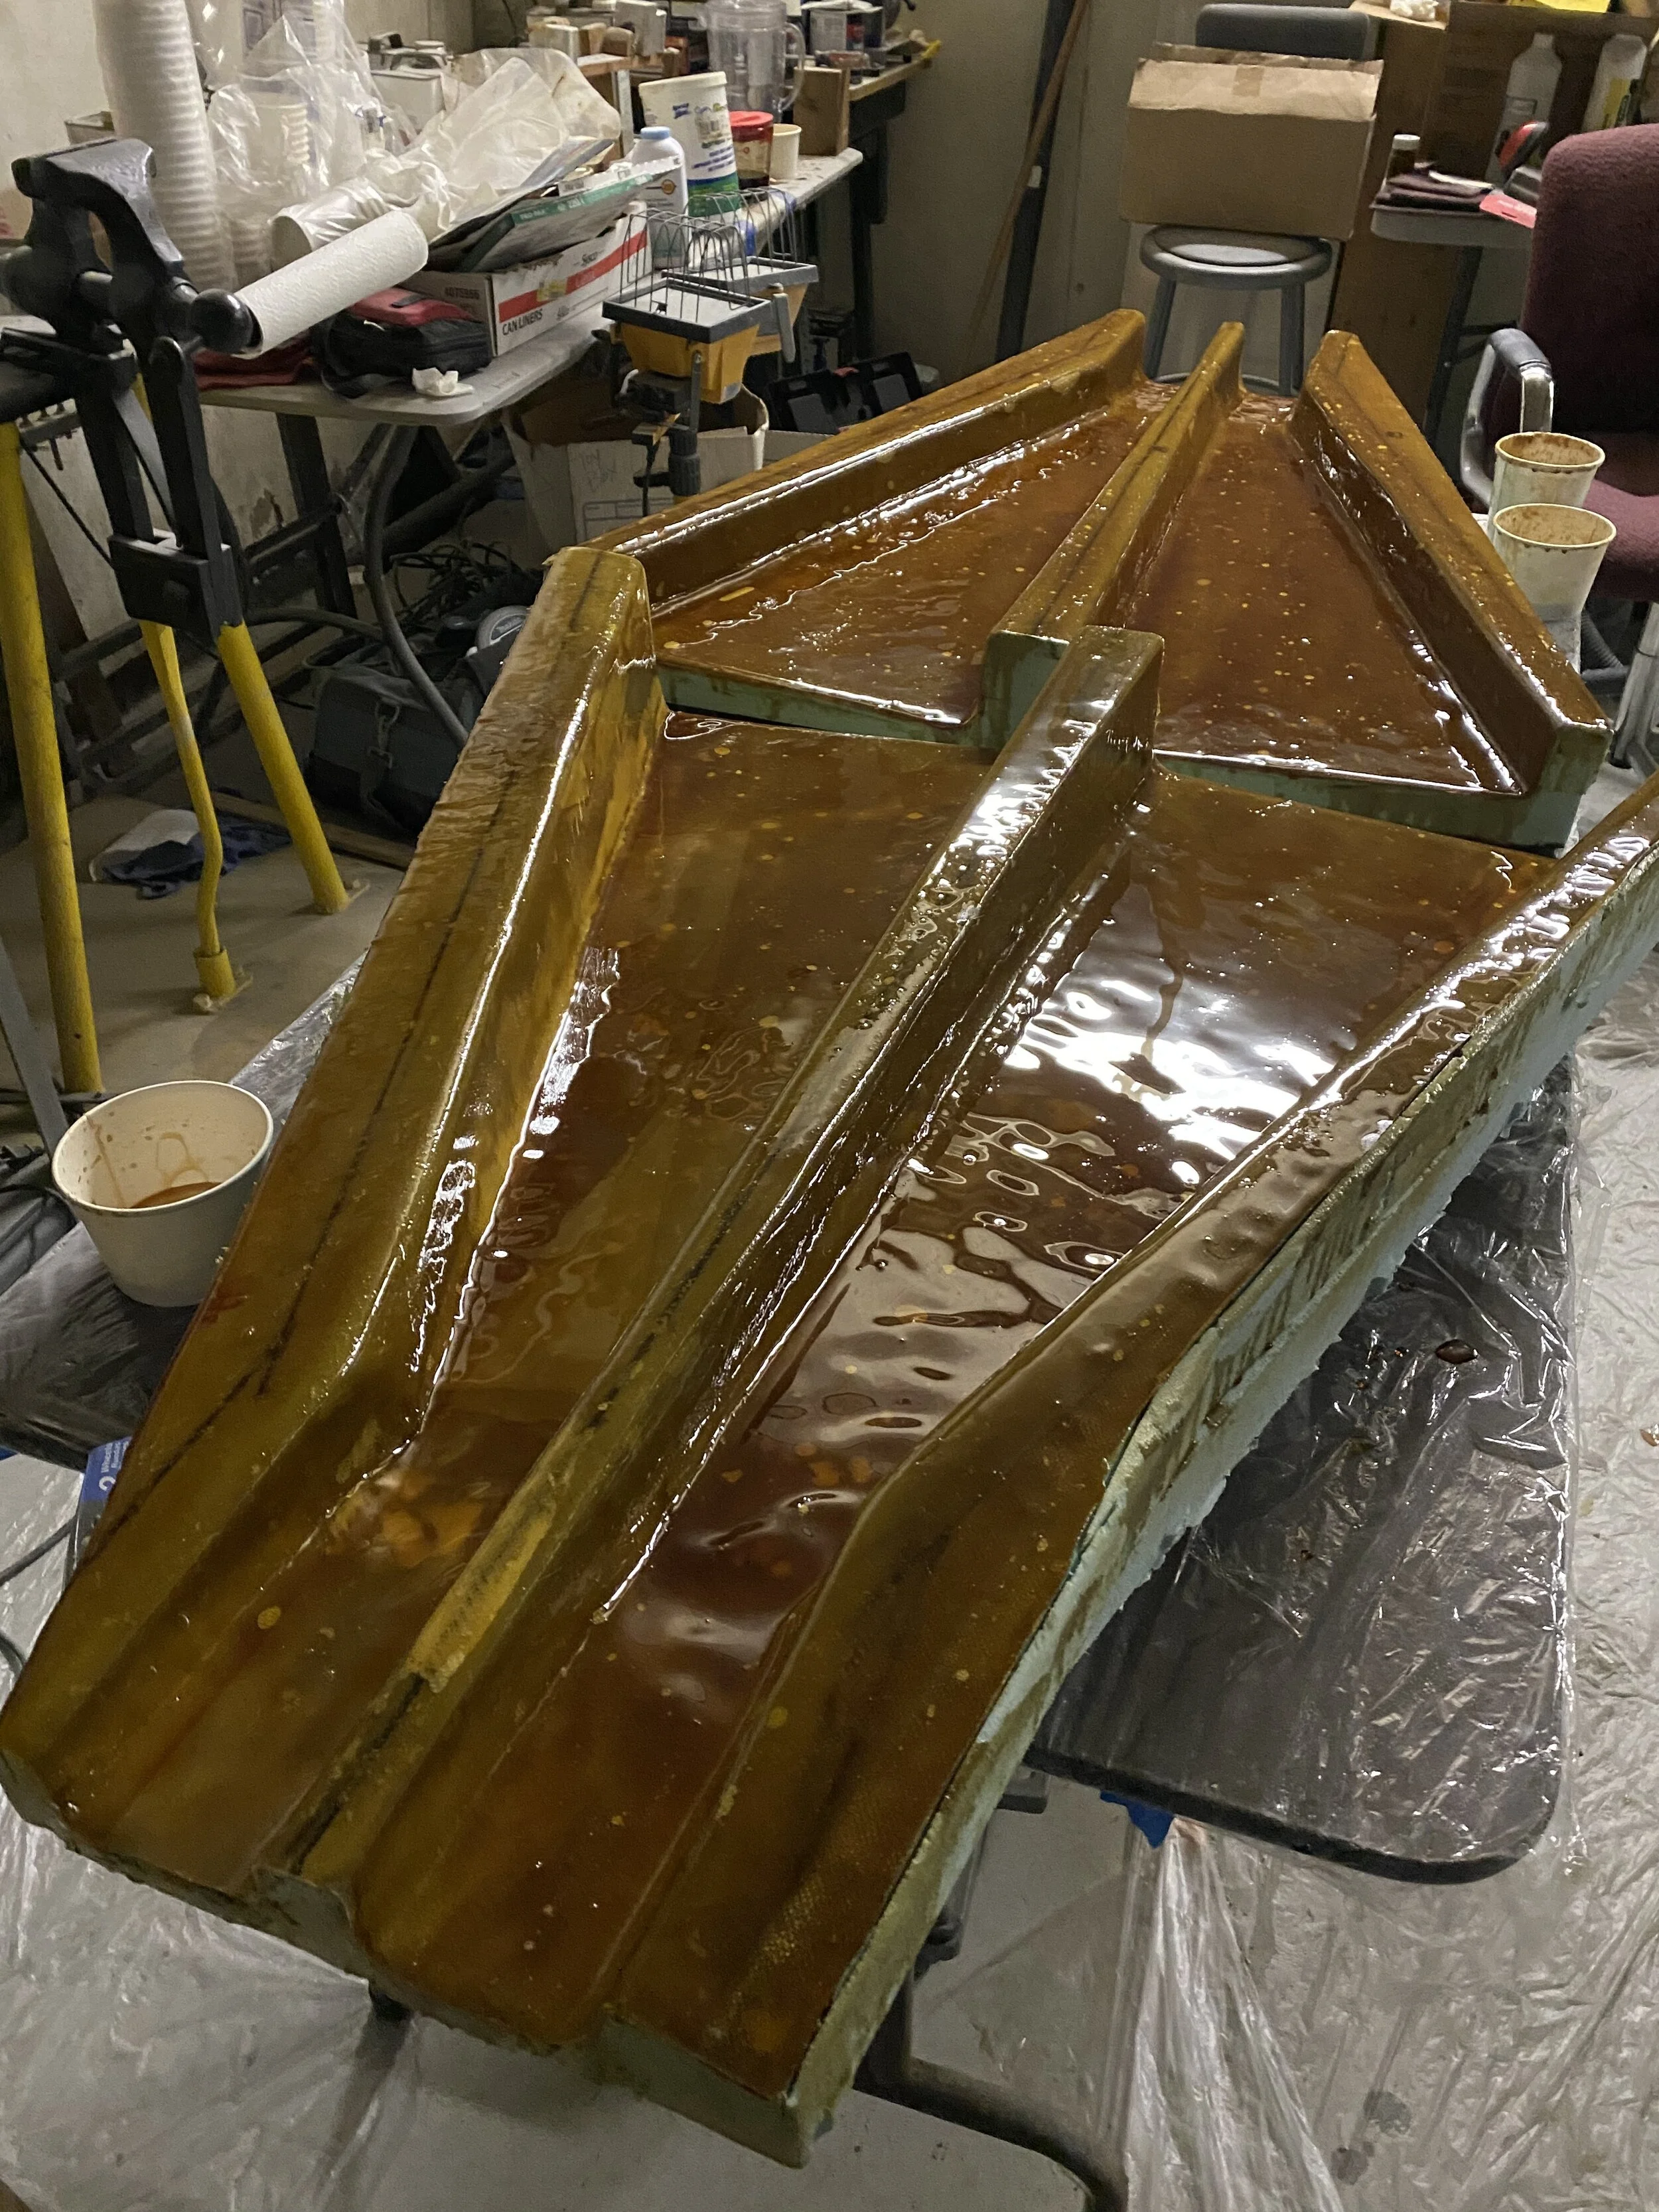
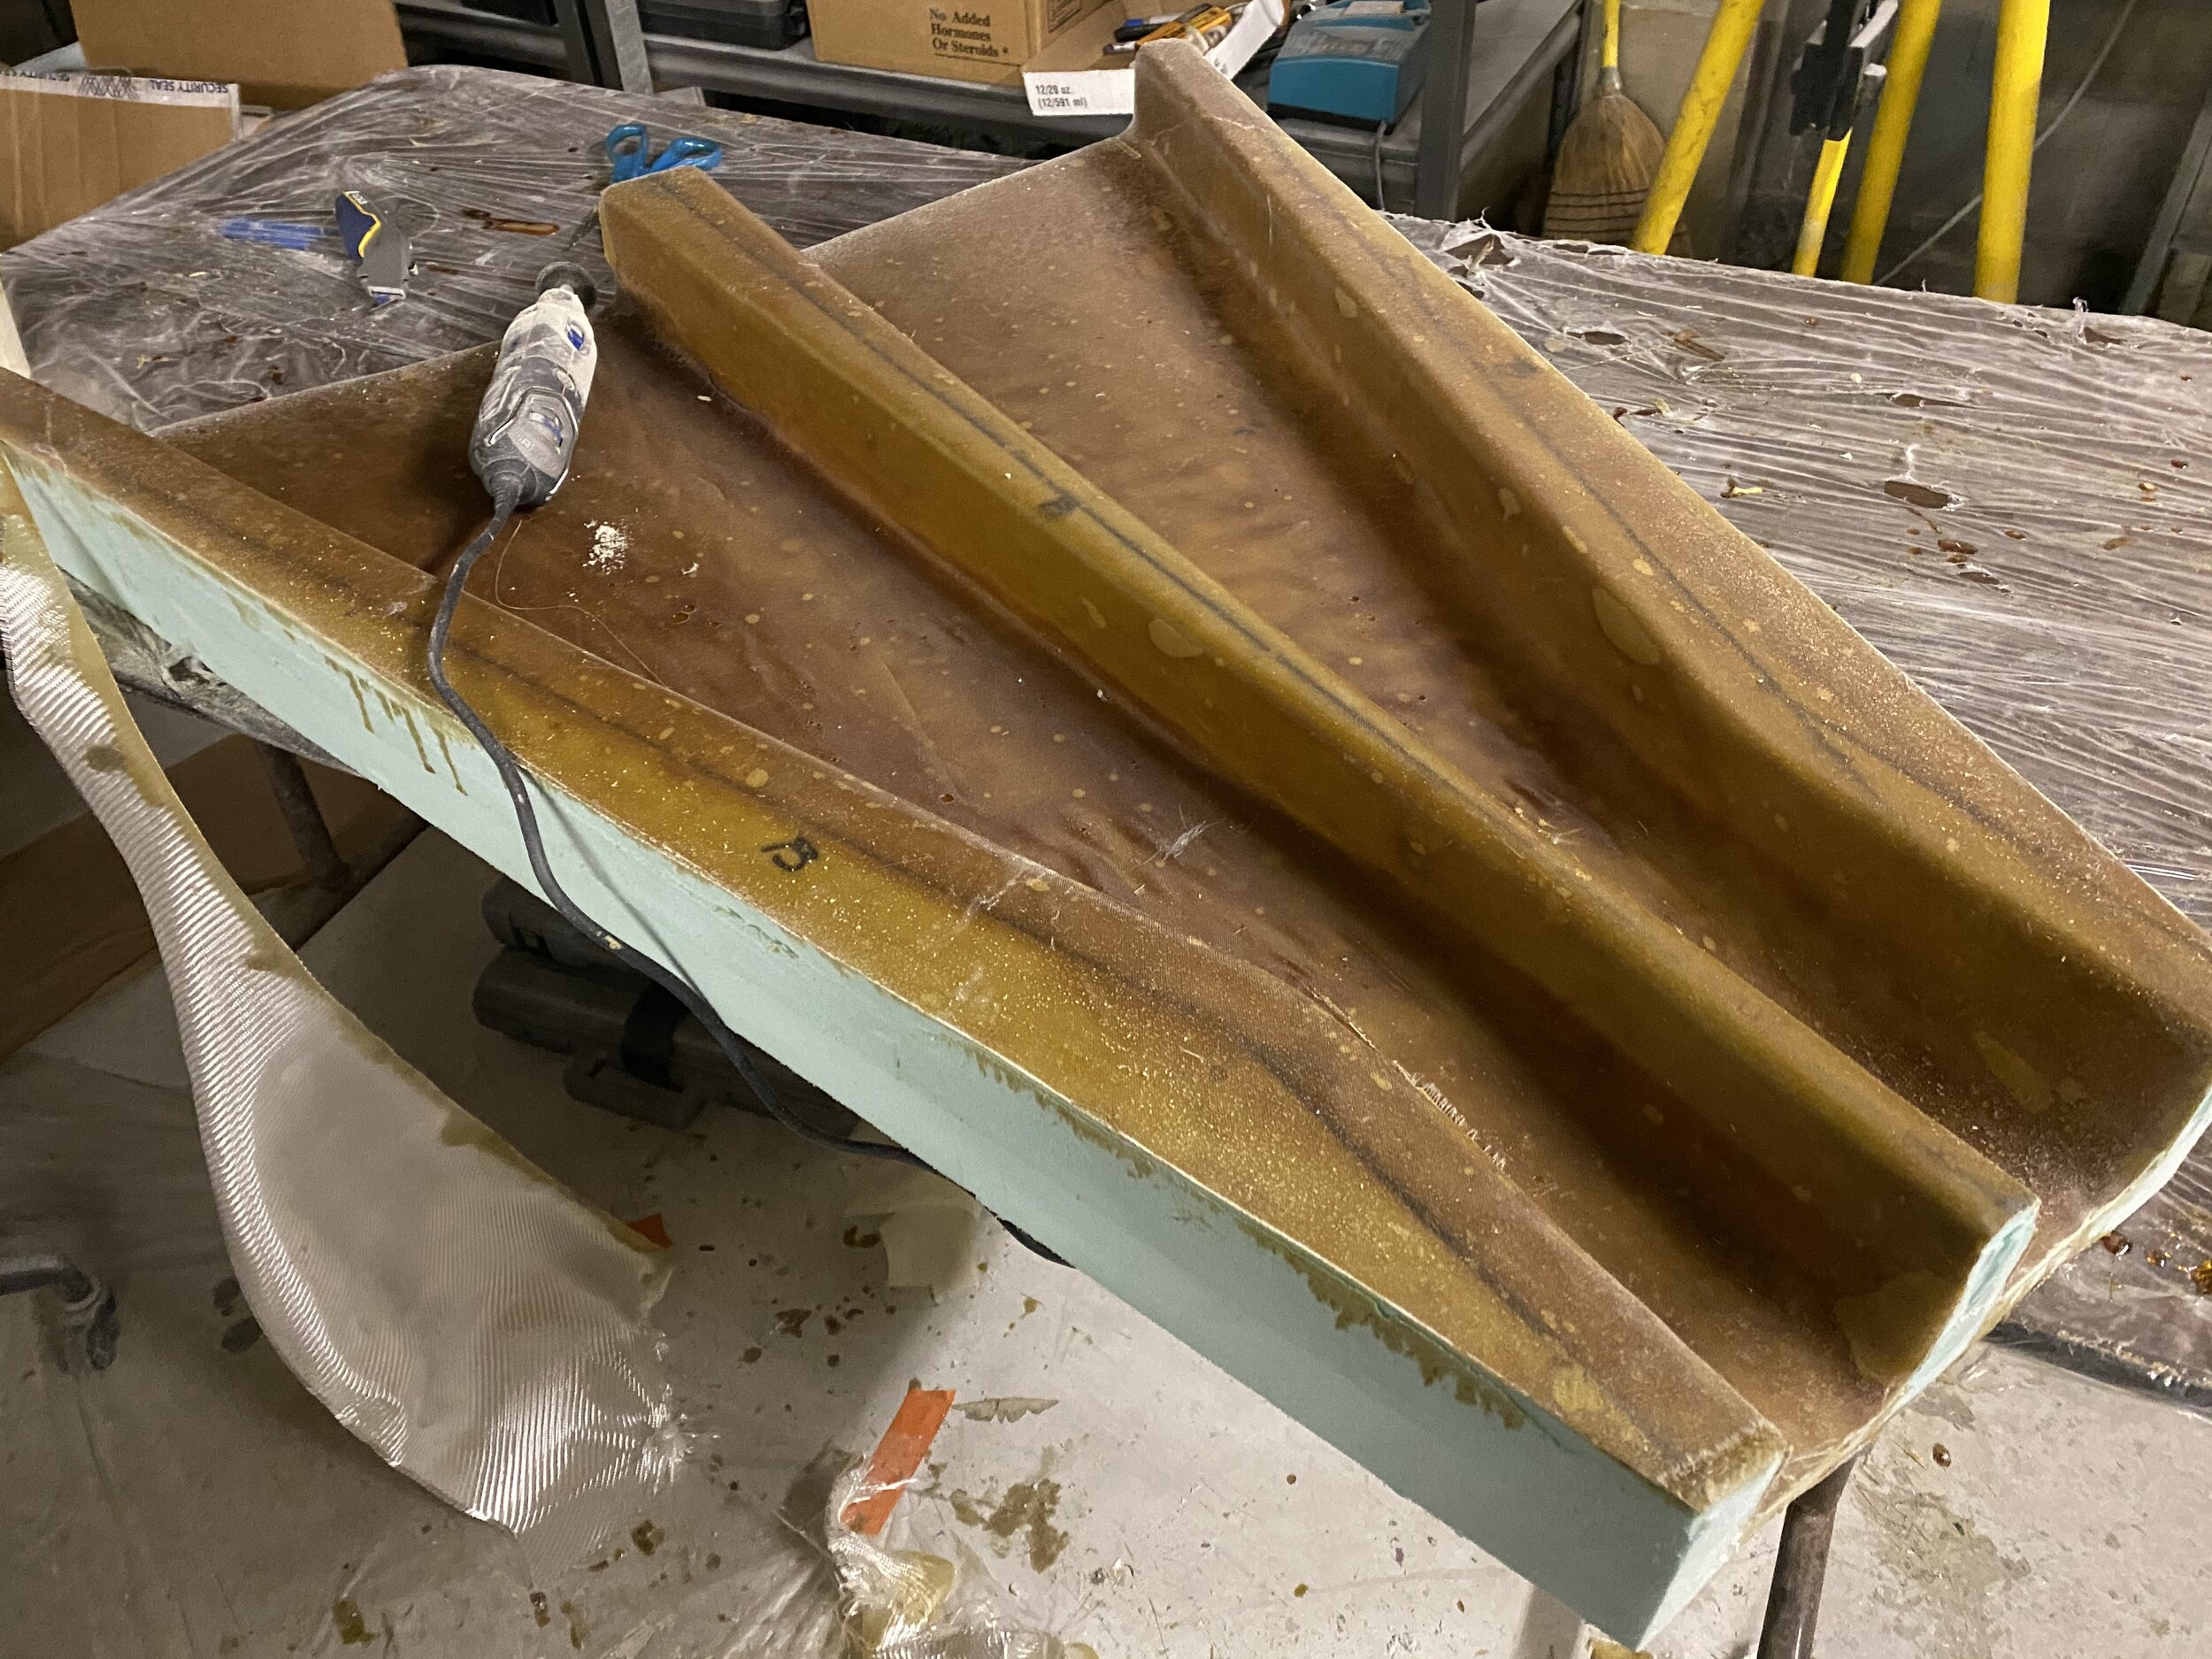
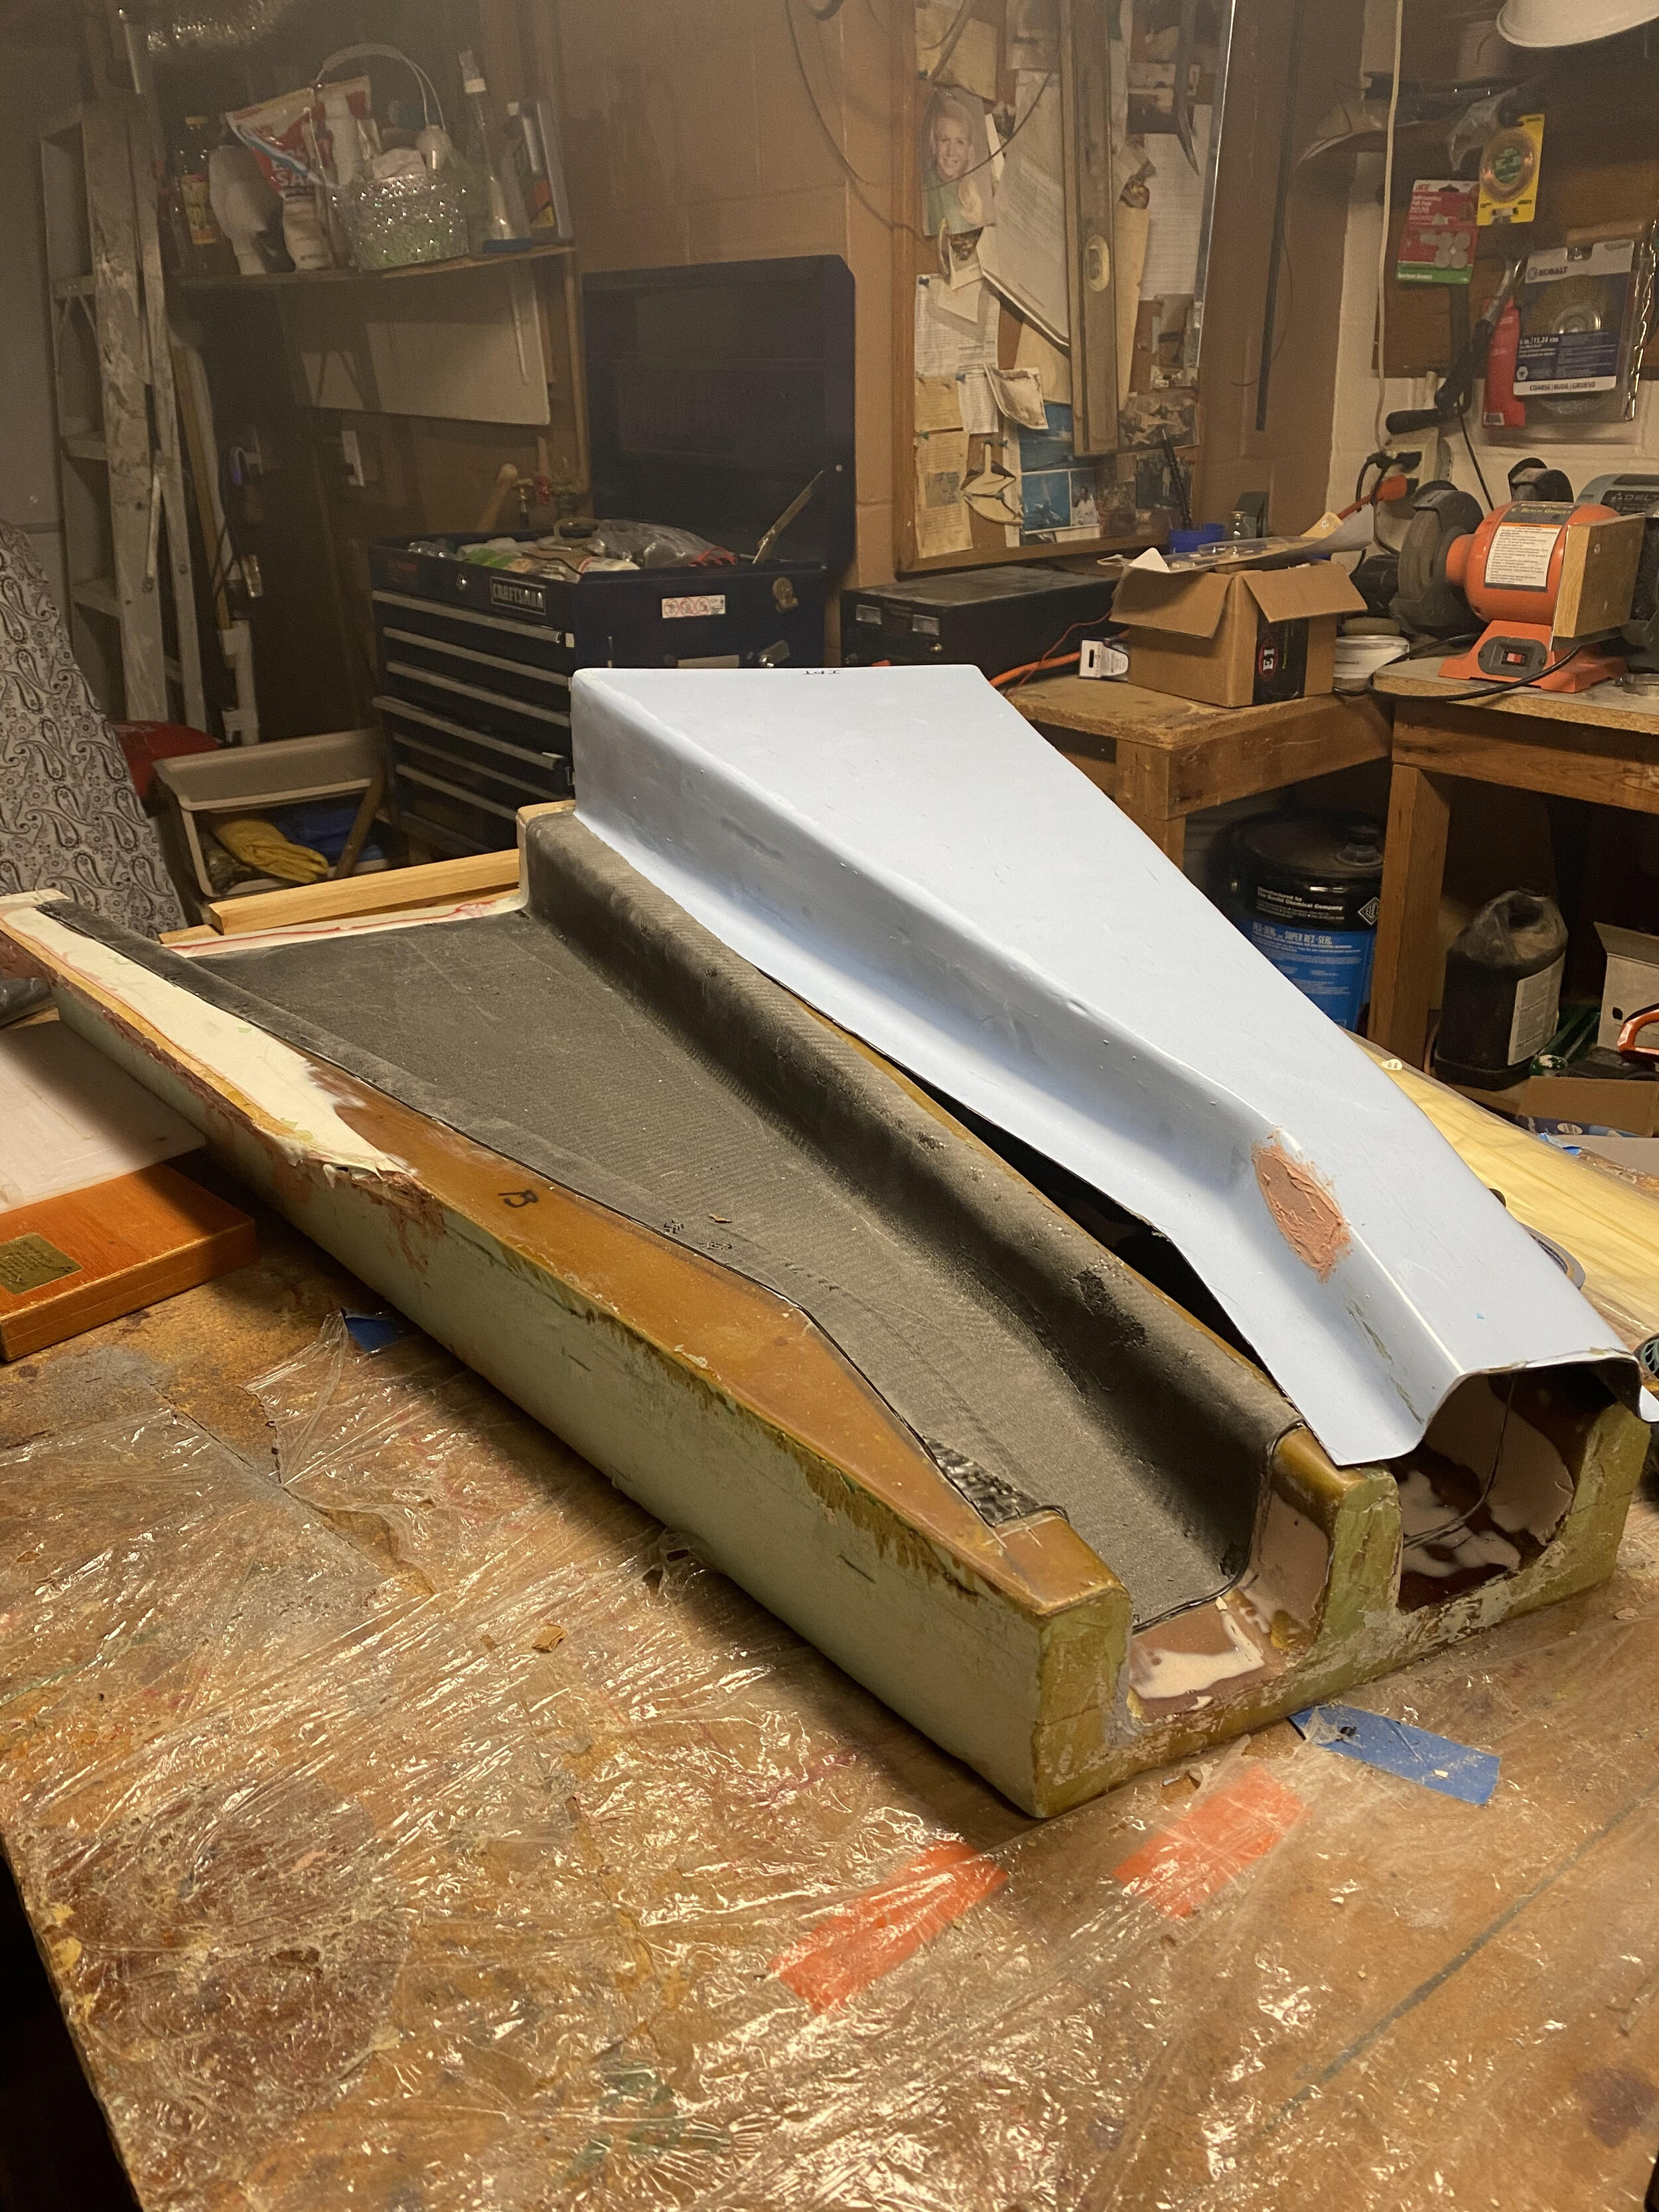
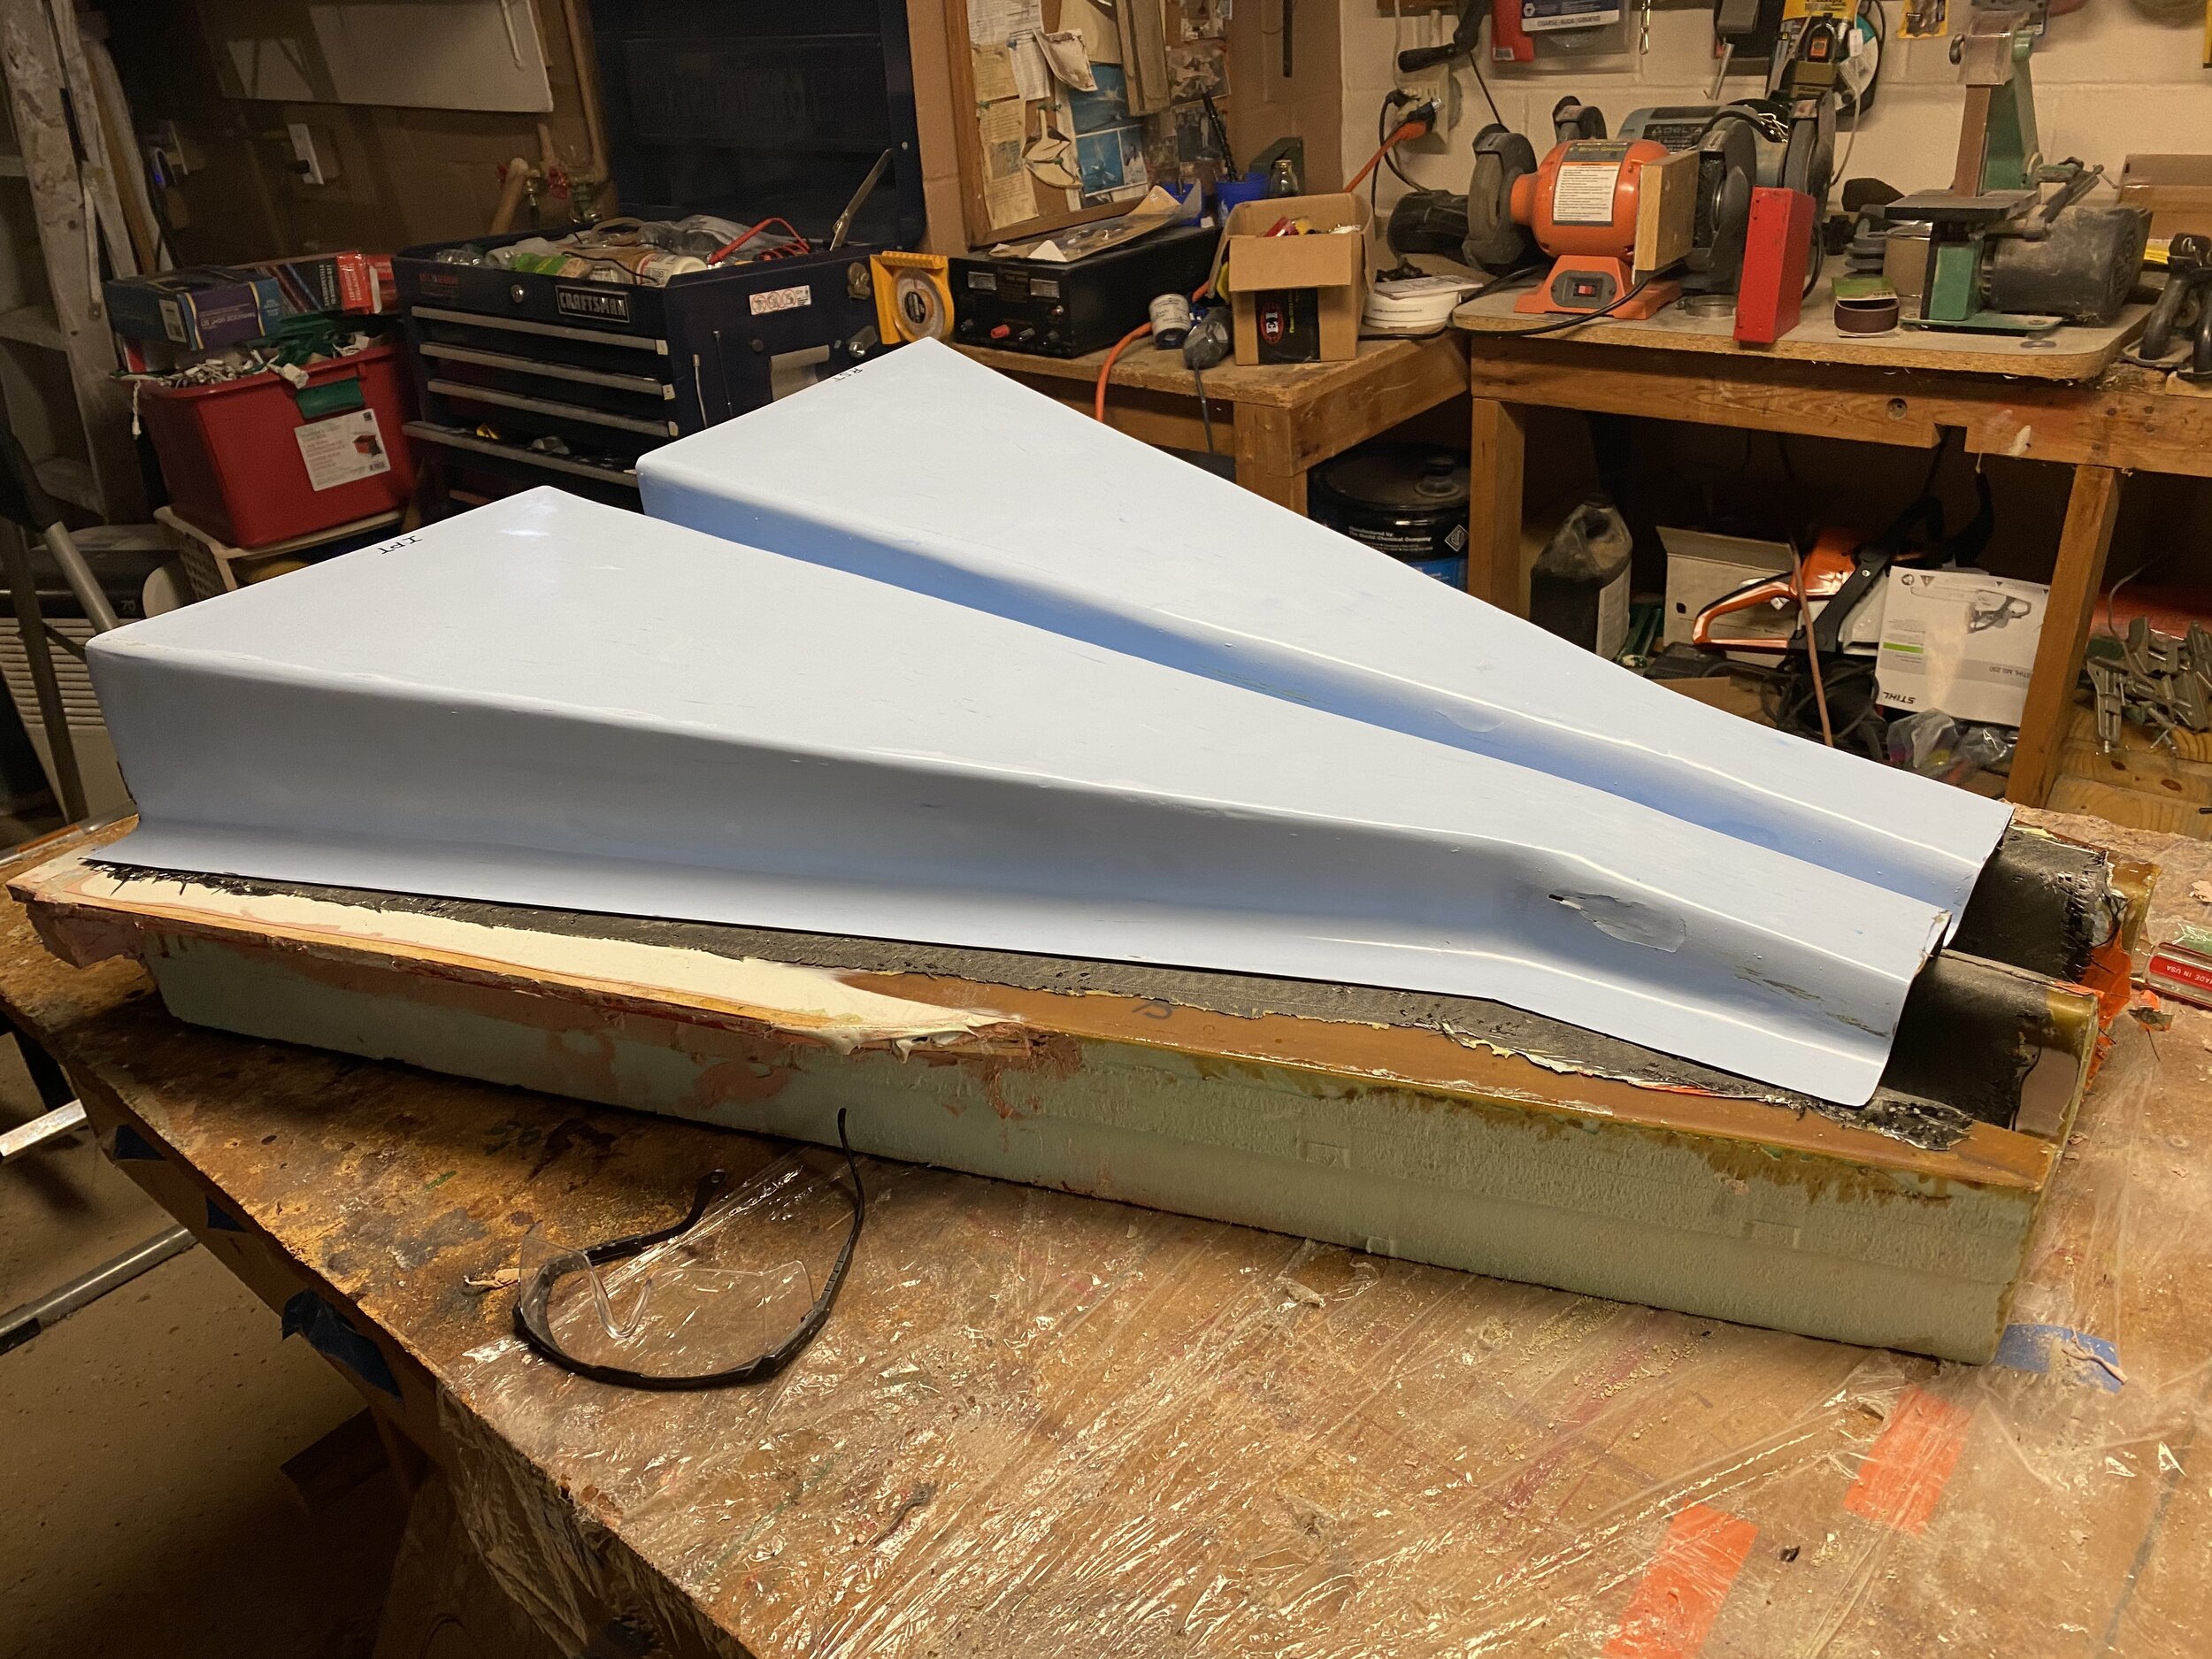
Following a 24-hour cure, the Nozzle's were debagged and easily popped out of the molds. They were perfectly formed. A final water wash removed the green, water-soluble PVA release film.


The Nozzle Flanges were trimmed straight with a Dremel Cutting Wheel and aligned. Then the starboard, Radiator Nozzle was aligned with the radiator/fan assembly. The whole assembly was duct taped (temporary) to assure fit & function; before permanently binding the Nozzle halves together with Fiber-glass Tape.

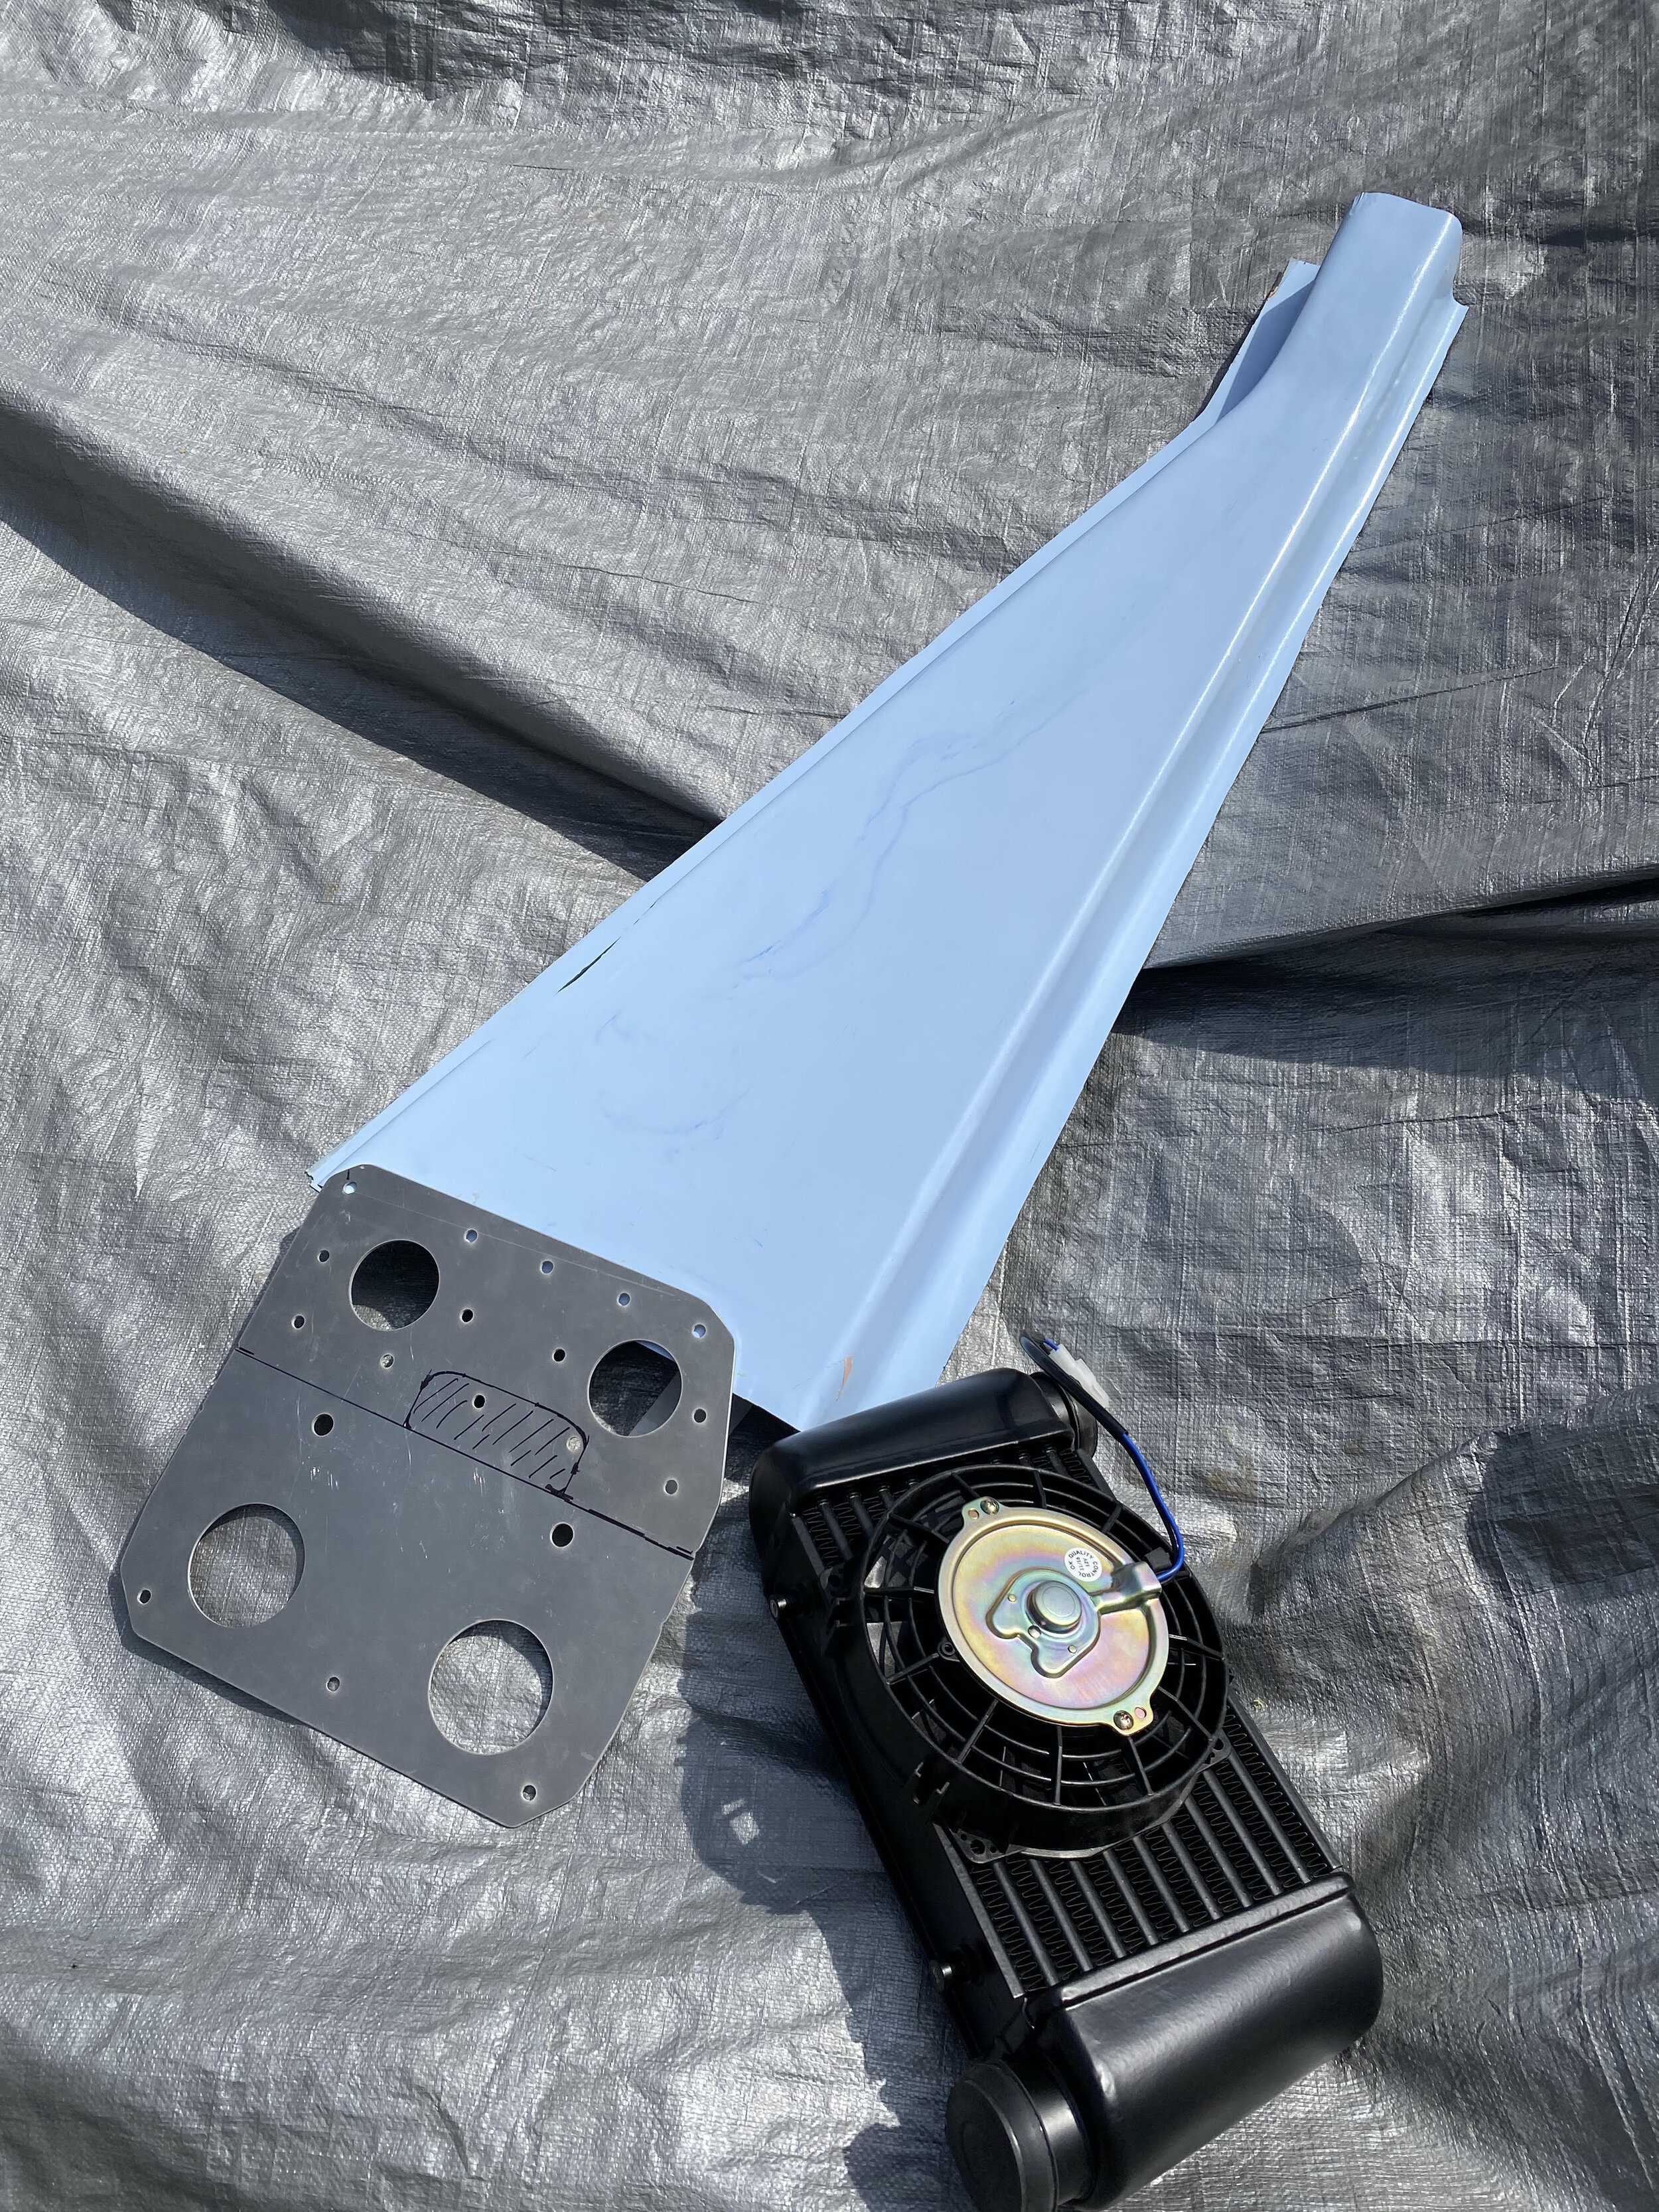

After taping tell-tail paper strips to the nozzle exhaust, I hooked our power supply and turned on the fan:
Now, it is on to fabricating the Radiator and Intercooler Diffusers. We will be uploading .STL files from our SolidWorks Part files (See Drawing LKS-M2006 Below) to our CNC Router for both Diffusers and Routing each Mold from Four (4) Stacked Sheets. Following routing, the Four (4) Sheets will be glued together, ridges sanded off and covered with 3-layers of BID Fiberglas Cloth.
![[LKS-M2006] MOLD IC Diffuser .JPG](https://images.squarespace-cdn.com/content/v1/5727779337013b4a807d315a/1617740546861-NM3VZCH846YIXCNQ03XG/%5BLKS-M2006%5D+MOLD+IC+Diffuser+.JPG)